Does your closet need a refresh? Hand embroidery is a simple and fun way to add new life to your clothing!
Check out my easy five-step embroidered crewneck sweatshirt tutorial for my favorite way to transform your clothing.
Supplies You'll Need:
- Your Crewneck Sweatshirt (in a lightweight cotton fabric with minimal stretch)
- 4" Embroidery Hoop
- Embroidery Floss
- Embroidery Needle
- Sulky Wash-Away Stabilizer or Stick & Stitch Embroidery Designs
- Pencil or Water-Soluble Pen
- Scissors
Step 1: Draw Your Embroidery Design
Draw your embroidery design onto the stabilizer with your pen/pencil or use these Stick & Stitch Embroidery Designs.

Step 2: Prepare to Embroider Your Sweatshirt
Peel off the back of your water-soluble stabilizer and stick your design onto your clothing. Once you are happy with its placement, thread your needle and secure your fabric in the embroidery hoop.

Step 3: Stitch Your Custom Design
Stitch your simple embroidery design for onto your sweatshirt (blouse, jeans, or other clothing) using back stitch.
Step 4: Rinse Off the Stabilizer
Once you've finished stitching, rinse your clothing with water to remove the stabilizer. Let dry.

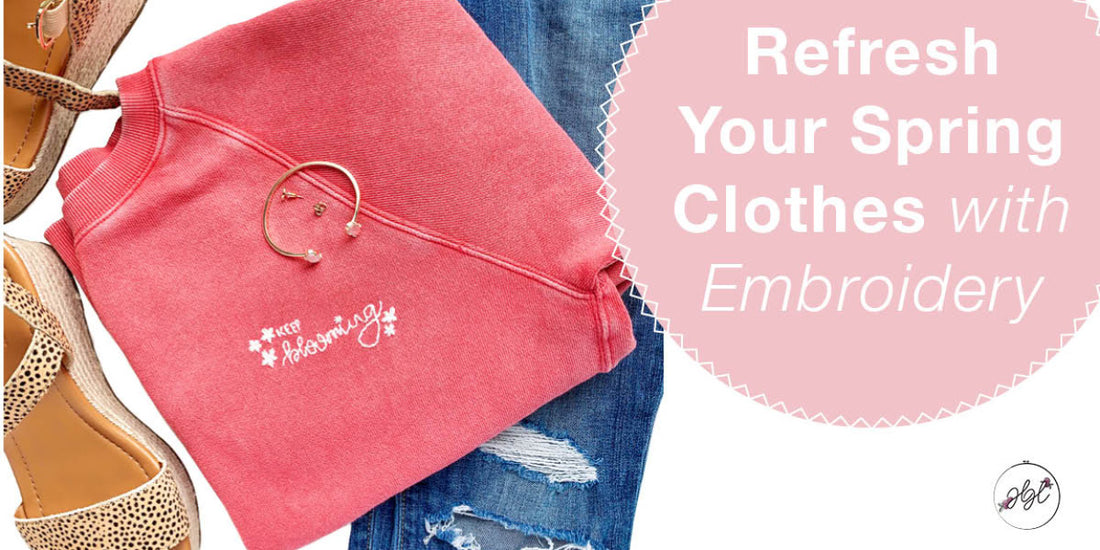
Step 5: Show Off Your New Custom Crewneck Sweatshirt
Style your embroidered sweatshirt with your favorite accessories and get ready to receive all the compliments!

Looking for more embroidery projects you can do from home?
Check out these DIY projects and start stitching today!
Thank you for reading this embroidery tutorial! I participate in affiliate programs and may earn a commission from your purchase.