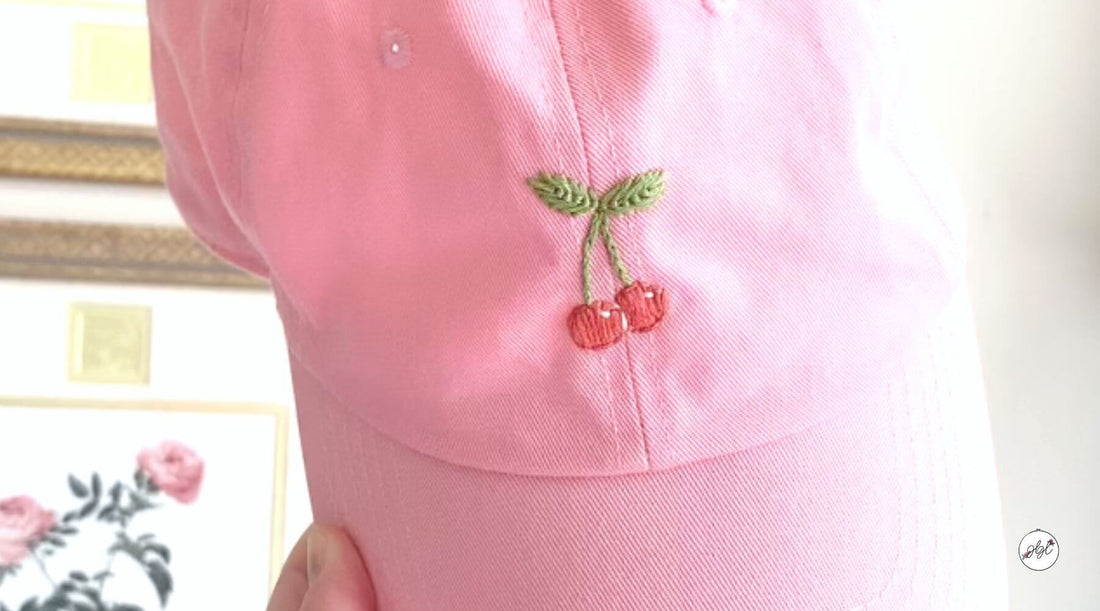
Want to stay cool this summer without sacrificing style? A hand embroidered baseball cap is the perfect way to shade your face from the sun and look cute while doing it!
Here's my absolute favorite (& easiest!) way to embroider your own hat with a cute design.
It's a fun summer wardrobe essential to wear to the pool, an outdoor concert, or the dog park!
Supplies You'll Need:
- A cotton cap in your favorite color
- Kawaii Stick & Stitch patterns
- An embroidery needle
- A 3" embroidery hoop
- Embroidery floss
- Scissors
Step 1: Place Your Design
First, choose your favorite design(s) - I picked the cherries from the Kawaii Stick & Stitch patterns for this hat!
Next, peel off the backing on your Stick & Stitch design and place it on your hat. I added mine to the front center.
Step 2: Attach the Embroidery Hoop
First, place the inner ring on the inside of your hat. Then add the outer ring (with the hardware) on the outside of your cap. Next, press the two together and tighten the hardware at the top of your hoop so that your hat fabric is as tight as possible.
Step 3: Stitch Your Design
Thread your needle and stitch your hat embroidery design using back stitch, satin stitch, or whichever combination of colors and stitches you'd like!

Step 4: Rinse
Once you've finished stitching, rinse your design under a faucet and lightly scrub the paper pattern with your fingers. The paper will dissolve, leaving behind only your pretty embroidery.
Step 5: Let Air Dry
Allow your hat to air dry before wearing, then get ready for tons of compliments!
Care: For best results, be sure to always hand wash your hat and allow it to air dry.
Interested in more summer embroidery tutorials?
Check out how to Personalize a Can Cooler or Cross Stitch Your Own Travel Accessories.
*Thanks for reading this summer embroidered cap tutorial! I participate in affiliate programs and may earn a share of revenue from your purchase. These are all supplies I use and recommend!


